


Troubleshooting- Start now
Troubleshooting- Start now
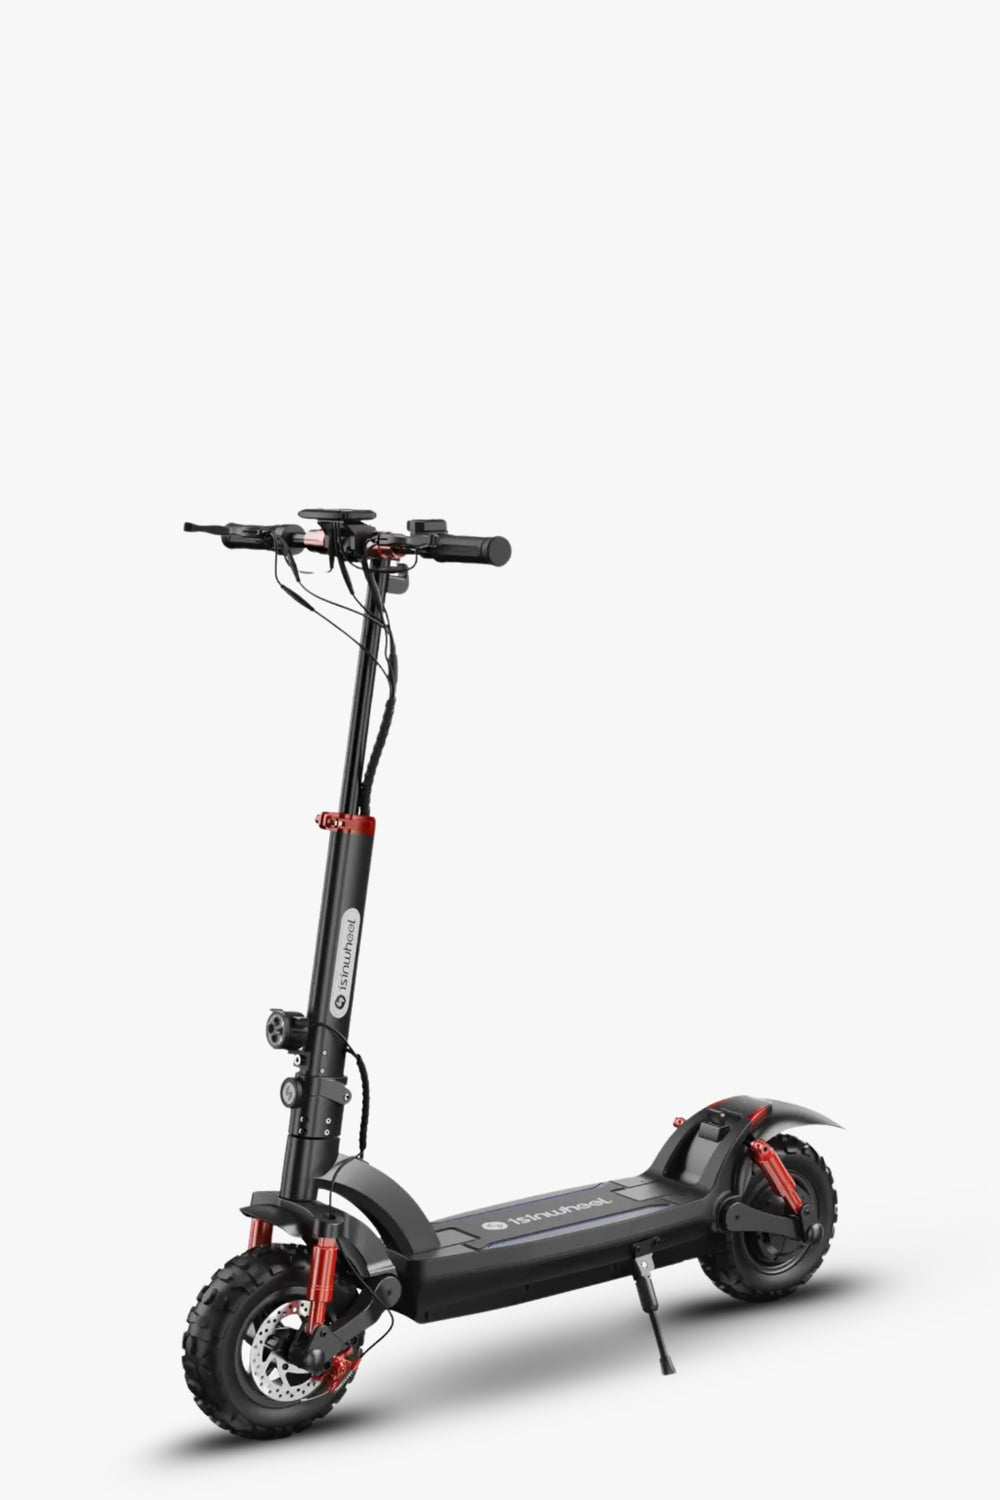
GT2 Installation Guide
GT2 Display Settings – Parameter Code Guide
| Code | Function | Options / Description |
|---|---|---|
| P01 | Unit Selection | 0 = kilometers (km), 1 = miles (mi) |
| P02 | Voltage Level Setting | Select from 36V / 48V / 60V / 72V (Default: 48V) – Undervoltage protection adjusts automatically based on selection |
| P03 | Wheel Diameter | Range: 8.0–12.0 inches, step: 0.5 (Default: 10.0 inch) |
| P04 | Speed Sensor Magnetic Pole Count | Range: 1–100 (Default: 30) – Adjust according to motor design for accurate speed display |
| P05 | Cruise Control Setting | 0 = Off, 1 = On – When enabled, cruise control icon appears on the display |
| P06 | Start Mode | 0 = Zero Start (throttle works instantly), 1 = Non-zero Start (must push first) |
| P07 | Speed Limit Setting | Range: 10% – 100% of top speed. Enter 00 for full power (100%) |
| P08 | Auto Sleep Time | 0 = No sleep; 1–30 = Sleep after X minutes of inactivity (Default: 5 minutes) |
| P09 | Display Backlight Brightness | 1 = Dim, 2 = Medium, 3 = Bright (Default: 2) |
| P99 | Factory Reset | Enter P99, then press and hold the "+" button for 5 seconds to reset all parameters |
| ODO | Odometer Reset | Navigate to ODO, then press and hold the "+" button for 5 seconds to clear total mileage |
GT2 Display Error Code Definitions
| Error Code | Definition |
|---|---|
| 03 | Motor Failed to Start Properly: Check the 3-phase motor cable and Hall sensor connector for poor contact. Also inspect for excessive load or wheel jam (e.g., during climbing). If the issue persists after reconnecting cables, the controller or motor may be damaged. |
| 04 | Low Battery Voltage Protection: Battery is under-voltage and enters protection mode. Charge the battery. |
| 06 | Motor Hall Sensor Failure: Fault detected in motor Hall signal. Check if the Hall connector is loose. If the error remains after reconnecting, the motor Hall sensor is likely damaged. |
| 07 | Throttle Malfunction or Pre-activation: Detected throttle signal < 0.75V or throttle turned before power-on. Reset the system to clear the fault. |
| 08 | Controller Fault: Internal controller malfunction. May require replacement. |
| 10 | No Signal from Display to Controller: Controller is not receiving signals from the display panel. |
| 15 | No Signal from Controller to Display: Display is not receiving signals from the controller. |
🔌 Signal Cable Faults – 5-Pin Display-Controller Cable
If there is a failure in the 5-pin signal cable between the display and controller, the following symptoms may occur:
(1) Display Won’t Power On – No Screen Output
Possible causes:
-
Main power cable between controller and battery is not connected properly
-
One of the Red / Black / Blue wires between display and controller is faulty
(2) Display Turns On but Stops After 3 Seconds
Possible causes:
-
Either Green or Yellow signal wire in the 5-pin connection is disconnected (open circuit)
GT2-How to Enable Zero Start Mode?
To activate cruise control mode:
1. Turn on the scooter, then press and hold M + Headlight buttons for 10 seconds
2. Release the Headlight button first, then release M
3. Navigate to P05 using the M button
4. Press the “+” button to set the value to 01
5. Wait for the screen to return to normal mode
6. While riding, hold the throttle steady for ~8 seconds. If cruise control is active, the cruise icon will stay solid.
❌ To deactivate cruise control, tap the brake or the throttle.
GT2 display shows a Bluetooth icon. Does this scooter support Bluetooth?
No. The Bluetooth icon only appears during the display's self-check sequence at startup.
🔹 This product does not support Bluetooth connectivity.
GT2 Battery Level Display Is Incorrect – How to Fix It?
Option 1 – Manually set the correct voltage:
1. Power on, then long press M to enter settings
2. Navigate to P02 using the M button
3. Use “+” or “–” to set it to 48V
4. Wait for the screen to return automatically
Option 2 – Reset to Factory Settings:
1. Long press M to enter the parameter menu
2. Navigate to P99
3. Long press the “+” button for 5 seconds to restore default settings
GT2 Power Module Notes
GT2 uses a specific power module wiring layout. If replacing components, refer to the factory wiring diagram as guidance.
GT2 Horn Sounds Strange – What to Do?
The headlight and horn are integrated in one unit. If the horn malfunctions, replace the entire headlight assembly.
GT2 Headlight Cannot Be Turned Off – Why?
This may be caused by water inside the headlight wires, which can burn the display’s MOS circuit.
🛠 Solution: Replace the instrument panel (display).

Troubleshooting & Repair Center
Step-by-step video instructions to help you repair and maintain your electric scooter.
GT2 Maintenance & Repair
GT1 Maintenance & Repair
S9MAX Maintenance & Repair
Troubleshooting & FAQ – Off-road Electric Scooter
1. Sudden Power Cut During Riding – What’s the Cause?
-
Battery fully drained (check battery indicator / try charging)
-
Battery malfunction (may require replacement)
-
Controller or display failure (check battery status again)
2. Scooter Won’t Accelerate or Feels Weak – What to Do?
-
Low battery or temperature-based current limit (check battery level / use APP to check current limiting)
-
Controller failure or motor issue (check current via APP or replace faulty parts)
3. Display Not Working or Showing Errors
-
Unplug and reconnect display cables
-
If the issue persists, screen or controller may be water-damaged or faulty (consider replacement)
4. Unable to Connect to APP or Forgot Password
-
Make sure Bluetooth is on
-
Update to latest APP version
-
For password reset, try restoring factory settings: Hold throttle + brake + press power button 8 times
5. Unusual Motor Noise During Riding – Is It Normal?
-
Possible water or dust inside the motor
-
Faulty motor wheel / worn motor bearings
-
Brake disc rubbing or debris (identify noise source and inspect)
6. What’s the Recommended Tire Pressure?
-
Generally around 30 PSI, but always refer to the marking on the tire sidewall
-
Adjust based on terrain and rider preference
7. Horn Not Working
-
Check if button module is responsive
-
The headlight and horn may share the same unit – replace both if necessary
8. Stem Wobbling During Riding – How to Fix?
-
Check the connection between handlebar, front fork, and folding mechanism
-
Tighten all screws if any part is loose
9. Brakes Not Working – What’s the Solution?
-
While powered on (but no rider on board), lift the rear wheel, accelerate slightly, then apply the opposite brake
-
If the motor slows down, the electronic brake is fine.
-
You may need to adjust mechanical brake cables or disc calipers
10. Scooter Won’t Charge – Charger Light Off
-
Charger may be faulty (try another one)
-
Power outlet issue (try a different socket)
-
Dirty or oxidized charging port (clean the port carefully)
11. Can’t Power On
-
Check if all cables are properly connected
-
Try charging to see if battery is working
-
If all looks fine, the issue may be with the controller
12. Throttle Not Responding
-
Check if the scooter is in "zero start" mode
-
Make sure brake levers have reset
-
Push to start – if not enough push speed, throttle may not engage
13. Tail Light / Headlight / Turn Signals Not Working
-
Check light connection cables
-
If wiring is fine, the light unit itself may be faulty
14. Short Riding Range
-
Battery aging (too many charge cycles)
-
Low temperature reduces battery performance – charge/use above 5°C
-
Low tire pressure increases resistance – check tires
-
If range drops sharply, battery may be defective
15. Flat Tire or Air Leak
-
Low tire pressure may cause friction and puncture
-
Aging or sharp object damage – patch or replace tire
16. Smoke or Severe Malfunction
-
Stop using immediately and contact customer support for safety evaluation
17. Broken or Cracked Parts
-
Please contact our support team at support@isinwheel.co.uk
Daily Use Reminders – Off-road Electric Scooter
1. Check Before First Use
Before your first ride, make sure the folding mechanism and handlebar assembly are fully secured. Loose parts may cause instability during riding.
2. Charge Before Riding
The battery is shipped with 75–85% charge. If stored too long, electrolyte may settle and ions may diffuse, causing reduced capacity or battery damage. Charge before use.
3. Check Tire Pressure
Regularly inflate tires. Recommended pressure is about 80% of the rated PSI to avoid over-inflation or under-inflation, both of which can damage tires.
4. Auto Power-Off
The scooter will automatically shut down after 15 minutes of inactivity to save power.
5. Incorrect Charger Voltage Can Be Dangerous
Using the wrong charger may cause:
a) Undervoltage – charging fails
b) Overvoltage – may lead to overheating or explosion
Example: For a 48V battery (13 cells, 3.6V each), use a 54.6V charger (13×4.2V). A 42V charger (10×4.2V) is not compatible.
6. Charging Time ≈ Battery Capacity / Charging Current × 0.8
Estimate your charging time using this formula.
7. Green Light ≠ Fully Charged
If the charging current drops below 200mA, the charger may show a green light even though the battery isn’t 100% full yet.
8. Keep Charging Port Clean
Foreign objects in the charging port can cause short circuits or sparks. Always clean before plugging in.
9. Estimate Minimum Range (Approx.):
(Assumes 80% of the ride is at top speed)
10. Braking Cuts Off Power
There are two types of power cut-off during braking:
a) Motor freewheeling (no resistance)
b) Motor resistance (regenerative or damped braking)
11. Brake & Component Wear Over Time
Brakes and other mechanical parts may loosen or wear out with time. Perform regular inspection and adjustments.
12. Rust Prevention
Iron components or screws may rust due to rain or damaged anti-rust coating. Use anti-rust spray periodically for maintenance.
Storage Precautions – Off-road Electric Scooter
1. Water Resistance Reminder
Your scooter is rated IPX4 – protected against splashing water from any direction for 10 minutes.
👉 Avoid riding in heavy rain or through deep water for extended periods to prevent damage.
2. Proper Storage Environment
-
Store in a dry, cool place, away from direct sunlight, heat, or moisture.
-
Keep the scooter elevated to prevent tire deformation from prolonged pressure on the ground.
3. Long-Term Storage – Battery Maintenance
If you won’t be using the scooter for an extended time:
-
Charge the battery to 50–80% before storage.
-
Recharge at least once every 2 months to prevent battery damage.
🔋 Battery-related issues to watch for:
-
a) Excessive Self-Discharge:
Over time, unused batteries lose charge naturally. If left fully drained, the battery may sulfate, increasing internal resistance and preventing charging. -
b) Delayed Charging After Full Discharge:
After riding until empty, charge promptly. If left too long, battery voltage may drop too low, and most modern chargers will refuse to charge due to low voltage protection. -
c) Battery Aging or Damage:
All batteries degrade over time. Aging may cause internal crystallization, short circuits, or charge failure. -
d) Poor Electrical Connection:
Charging issues can result from oxidized or loose battery connectors. Check plugs and wiring if charging fails.
🔐 IP Rating Explained (Ingress Protection)
| Level | Dust Protection | Water Protection |
|---|---|---|
| X | No protection | No protection |
| 1 | Solid objects ≥50 mm | Dripping water (vertical) |
| 2 | Solid objects ≥12.5 mm | Dripping water (tilted at 15°) |
| 3 | Solid objects ≥2.5 mm | Spraying water (up to 60° angle) |
| 4 | Solid objects ≥1 mm | Splashing water from all directions (180°) |
| 5 | Dust-protected (limited ingress) | Low-pressure water jets |
| 6 | Dust-tight | High-pressure water jets |
| 7 | – | Temporary immersion (up to 1 meter) |
| 8 | – | Continuous immersion (beyond 1 meter) |
Your scooter is IPX4: It has no dust protection but is resistant to splashing water only. Avoid immersion or water jets.
Operation & Daily Maintenance – Off-road Electric Scooter
🛑 Brake Maintenance
If you experience brake failure or unusual noises, inspect the following based on the brake type:
-
Disc Brakes
-
Check if the brake disc is bent
-
Inspect brake pads (wear level)
-
Make sure the brake cable is tight and responsive
-
-
Drum Brakes
-
Check brake shoe wear
-
Regularly clean dust inside the drum housing
-
-
Hydraulic Brakes (Oil Brakes)
-
Inspect pads, discs, adjustment screws, and brake cables
-
Perform oil refill and air bleeding if braking is weak (requires time & specialized tools)
-
🛞 Tire Maintenance
-
Regularly check tire pressure, especially for air-filled tires
-
Underinflated tires increase rolling resistance, reduce range, and cause faster wear
-
Inflate tires to the recommended PSI listed on the sidewall
🚲 Frame & Body Maintenance
-
Check all frame screws and bolts, especially around the folding mechanism and handlebar joints
-
Use lubricant regularly on:
-
Bearings
-
Folding joints
-
Other rotating or movable parts
-
-
DO NOT use high-pressure water for cleaning
-
After riding in rain, wipe down the scooter to prevent rust and wear
🔋 Battery Replacement
-
Always match the voltage specifications (e.g., replace a 48V10Ah battery with a 48V15Ah)
-
After replacing the battery, some spark discharge may occur at the connector
-
To avoid this, press the power button before connecting the battery
-
⚡ Replacement of Electronic Components
-
Be careful with pin connectors during replacement
-
Do not force or misalign connectors to avoid bending or breaking the pins
-
Double-check wiring before powering on
Other Common Issues & Solutions – Off-road Electric Scooter
🔌 Charging But Won’t Power On / Shuts Down While Riding / APP Not Connecting / Can’t Accelerate
1. Device can’t be powered on/off during charging
While charging, the battery automatically disables output, so power buttons will not function. Unplug the charger and try powering on again.
2. Auto shut-down during riding
Voltage may dip under heavy load or steep climbs, especially when battery is low. This may trigger battery protection mode. Simply recharge the battery to recover.
3. APP not connecting
Try restoring factory settings to re-enable Bluetooth pairing:
(Throttle + Brake + Press power button 8 times)
4. No acceleration when powered on
Check if scooter is set to non-zero start mode or if brake lever is engaged. In either case, throttle will not respond until scooter is pushed forward slightly and brake is released.
🔋 Short Range / Weak Power / Motor Overheating / Can't Reach Top Speed
1. Real-world range varies by conditions
Factors like road surface, rider weight, speed, and weather will affect range.
(Test conditions: 70kg rider, constant 15 km/h on flat road)
2. Power limitations on commuter models
Lightweight commuter scooters may struggle on hills under heavy load. Recommend pushing the scooter manually on steep slopes.
3. Motor overheating
High sustained current over time may cause motor temperature to spike. To protect the system, a temperature protection limit is in place. Overheating may temporarily reduce power or shut down motor.
4. Power output vs battery level
To achieve maximum speed and torque, it's recommended to keep battery above 80%. Also note:
Regulations allow up to ±10% tolerance in top speed.
🛠️ Brake Noise / Ineffective Braking / Tire Damage / Loose Stem
1. Brake misalignment after delivery
Transportation may shift the brake caliper slightly. Adjust the disc brake screws to realign.
2. Brake not working well
Braking depends on pad pressure against the disc. You may need to tighten the brake cable or replace worn pads.
3. Tire inflation & risk of blowout
Inflate tires to 80% of the rated PSI as shown on the tire. Over- or under-inflation may cause tire damage or blowouts.
4. Loose stem after riding
Bumpy terrain or prolonged riding may loosen some bolts. If the stem wobbles, tighten the locking screws on the folding mechanism and handlebar assembly.
What you might want to know


Looking for exclusive discounts? Discover amazing deals on isinwheel! From student and teacher discounts to NHS and military offers, get the best prices on products in the United Kingdom. Don't miss out, shop now and save big!

We are actively seeking dealers and service partners.
Whether you want to resell our products or offer repair and maintenance services, we offer competitive pricing, marketing support, and technical assistance to help your business succeed.

Whether you're shopping for a holiday gift or treating yourself to a new ride, this guide will help you find the perfect model.
From daily commutes to off-road adventures — discover the electric scooter or bike that fits your lifestyle.

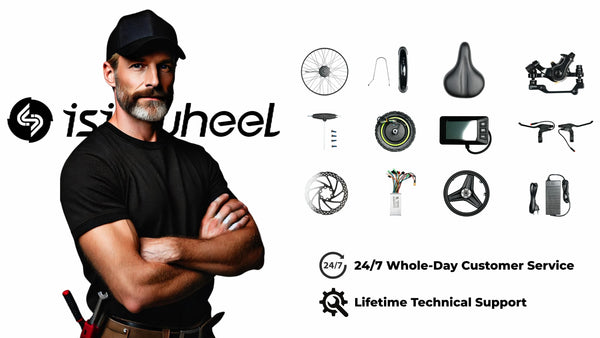
isinwheel offers lifetime technical support to all customers.
Our 24/7 customer service team is always ready to assist you with any questions about our products or services—whether your product is within the warranty period or not.
The standard warranty for electric bikes is 2 years, and for electric scooters, it's 1 year.
In addition to the standard warranty, you can also purchase extended warranty services on our website.
Please note that wearable parts may have different warranty terms. For full details, please refer to our Warranty Policy.
We love to hear from you,our team is available to help answer questions and offer styling advice, so if there’s anything you’d like to ask us, we’re right here and ready to help in every way we can.
Email : support@isinwheel.co.uk
Tel: +44 1563638328
Customer service chat hours
MON to FRI: 9:00 AM - 6:00 PM GMT+8