


How to Change a Tire on an Electric Bike: Step-by-Step Guide
Electric bikes are quickly becoming a popular choice for commuters, adventurers, and casual riders alike. They combine the convenience of cycling with the power of an electric motor, allowing you to ride longer distances with less effort. However, like any vehicle, electric bikes require regular maintenance, and one of the most common tasks is changing a tire.
A damaged or worn-out tire can compromise safety, reduce performance, and lead to unpleasant surprises during your ride. Knowing how to change a tire on an electric bike is essential for every e-bike owner. This guide will walk you through the process step by step, from identifying when a tire needs replacement to performing post-change checks.
When To Change Your E-bike Tire: Signs to Look Out For
Electric bike tires endure more stress than regular bike tires due to the extra weight of the motor and battery, as well as higher speeds. Regular inspection is key to catching problems early. Here are the most common signs that your tire needs changing:
Worn Tread
The tread on your tire is critical for traction and stability, especially in wet or uneven terrain. If the tread is worn smooth, your e-bike may slip on wet roads or loose surfaces, increasing the risk of accidents. Check your tires periodically for worn or shallow tread patterns.
Cracks or Dry Rot
Over time, exposure to sunlight, heat, and rain can cause the rubber to dry out and crack. Dry rot weakens the tire structure, making it more prone to punctures and blowouts. Inspect the sidewalls and tread area for visible cracks, even if the tire isn’t completely worn.
Frequent Flats
If you find yourself patching punctures regularly, it could mean the tire is too thin or the rubber has weakened. A tire that’s prone to repeated flats is a safety hazard and should be replaced promptly.
Visible Damage
Bulges, cuts, or deformities are obvious signs that the tire has been compromised. Even a small cut can expand under pressure and lead to a blowout, especially on an e-bike where speed and weight put extra stress on tires.
Uncomfortable Ride
Sometimes, it’s not just about what you see. A tire that feels wobbly, uneven, or soft while riding may indicate internal damage or an underperforming structure. If your ride doesn’t feel smooth, inspect the tire carefully.
Preparation for Tire Change
Before changing an electric bike tire, proper preparation is essential to avoid damage and make the process smoother.
-
Gather Tools: You’ll need tire levers, an adjustable wrench or hex keys, an air pump, a patch kit (optional), and gloves.
-
Prepare Workspace: Use a flat, stable surface with enough room to work. A mat or cloth can protect the bike, and good lighting helps spot any damage.
-
Safety Precautions: Remove the battery to protect electronics and stabilize the bike using a stand or by carefully flipping it.
-
Remove the Wheel: Front wheels are usually easier—loosen the axle or quick-release lever. Rear wheels may involve chain or motor adjustments; consult your manual if needed.
How To Change A Tire On An Electric Bike
Changing a tire on an electric bike is a manageable task if you follow the right steps. E-bikes have extra weight, motor components, and sometimes integrated sensors, so careful handling is important to prevent damage. Here’s a comprehensive guide:
Step 1: Deflate the Tire
Start by removing the valve cap and releasing all the air from the tire. For Schrader valves, press the center pin; for Presta valves, unscrew the top nut and press down. Fully deflating the tire makes it easier to remove and reduces the risk of damaging the inner tube or tire bead.
Step 2: Remove the Tire from the Rim
Use a tire lever to carefully lift the tire bead over the rim. Work around the wheel gradually, using a second lever if needed. Avoid forcing the tire, as this can bend the rim or tear the tube. If the wheel has a hub motor, take care not to stress wires or connectors while handling it.
Step 3: Inspect or Replace the Inner Tube
Remove the inner tube completely and check for punctures, cracks, or weak areas. Small holes can be patched with a repair kit, but a damaged tube should be replaced. Also, check the inside of the tire for debris or sharp objects, which can cause future flats.
Step 4: Install the New Tire
Place one side of the tire onto the rim. Insert the inner tube, making sure the valve aligns with the rim hole and the tube sits evenly inside the tire. Push the other side of the tire onto the rim gradually, using hands first and tire levers only if necessary. Avoid pinching the tube. Proper installation ensures the tube is secure and reduces the chance of punctures or uneven wear.
Step 5: Inflate the Tire
Use an air pump to inflate the tire slowly to the recommended PSI, which is usually marked on the sidewall. While inflating, make sure the tire bead seats evenly around the rim. Gradual inflation allows the tire to settle properly and ensures even pressure distribution, which is crucial for e-bikes because of their additional weight.
Step 6: Reattach the Wheel
Carefully place the wheel back on the frame. For front wheels, ensure the axle sits correctly in the fork dropouts. For rear wheels, align the chain and any motor or sensor connections before tightening the axle nuts or quick-release lever. Check that the wheel is centered between the brake pads and that brakes and gears operate correctly.
Step 7: Perform a Spin Test
Spin the wheel manually to check for wobbling, brake rubbing, or unusual resistance. Make small adjustments as needed. Once everything seems aligned, take a short test ride at low speed to ensure smooth operation. Confirm that the wheel spins freely, brakes respond properly, and the bike feels stable.
Post-Change Checks: What To Look Out For
After replacing your tire, conducting a few post-change checks ensures safety and performance:
Tire Pressure
Verify that the tire is inflated to the correct pressure, as indicated on the sidewall. Underinflated tires reduce efficiency, make pedaling harder, and increase the risk of punctures. Overinflated tires, on the other hand, can make your ride harsh, reduce traction, and put extra stress on the tire structure.
Brake Functionality
Check that your brakes are properly aligned and do not rub against the new tire. Misaligned brakes can lead to uneven tire wear, reduced stopping power, and potentially unsafe riding conditions. Squeeze the brake levers a few times and spin the wheel to ensure smooth contact and consistent braking.
Wheel Alignment and Spin
Spin the wheel to ensure it rotates freely without wobbling. Check that the motor hub (if on a rear wheel) spins smoothly and is properly seated.
Short Test Ride
Take a brief ride to ensure everything feels normal. Listen for unusual noises and monitor handling. Address any issues immediately before longer rides.
Regular Monitoring
Even after a successful tire replacement, continue to inspect the tire periodically, especially during the first few rides. Check for proper seating, air pressure retention, and any signs of uneven wear or embedded debris.
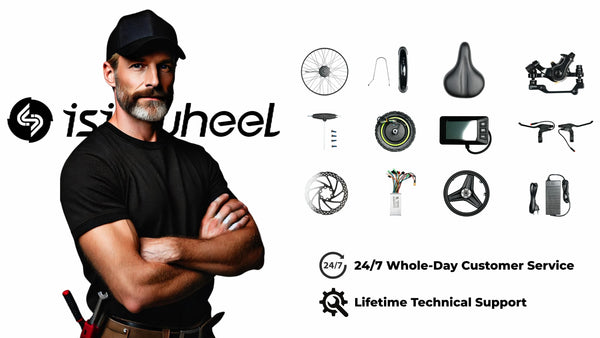
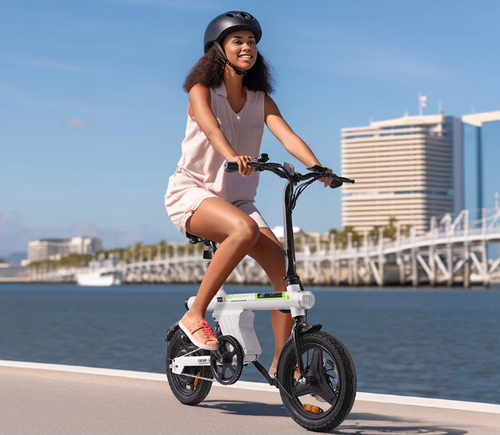
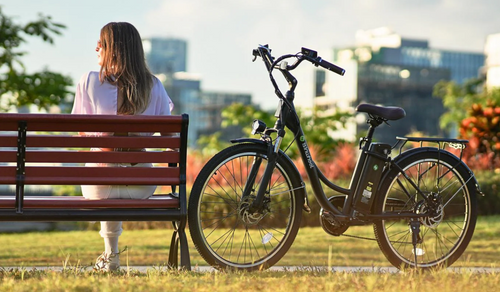
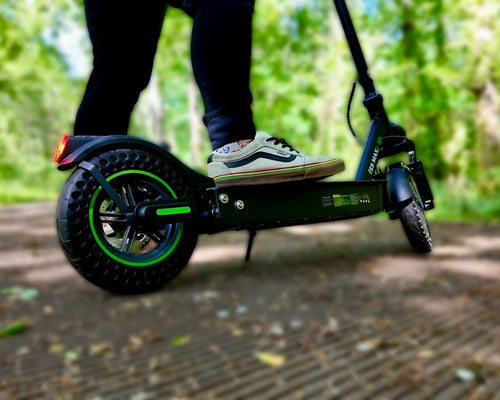
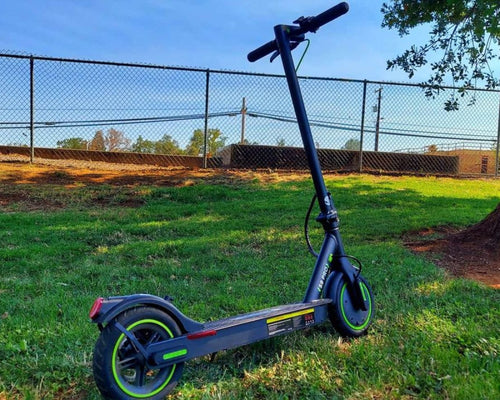
Upgrade or Replace with isinwheel E-Bikes
If you find yourself frequently changing tires due to wear or punctures, it might be time to consider an upgrade. isinwheel e-bikes are designed with durability and performance in mind. Their tires are engineered to withstand extended rides, heavier loads, and urban obstacles, reducing the need for frequent maintenance.
|
Images |
 |
 |
 |
 |
 |
 |
|
Models |
||||||
|
Tire Size |
14×1.95" |
26×1.95" |
16×1.75" |
26×1.95" |
16×2.15" |
26×1.95" |
|
Tire Type |
Pneumatic |
Pneumatic |
Pneumatic |
Pneumatic |
Pneumatic |
Pneumatic |
|
Peak Power |
500W |
500W |
500W |
500W |
500W |
750W |
|
Battery |
36V 7.8Ah |
36V 13Ah |
36V 7.8Ah |
36V 10.4Ah |
36V 10.4Ah |
36V 10.4Ah |
|
Max Range |
28 miles |
65 miles |
35 miles |
60 miles |
55 miles |
55 miles |
|
Speed (before unlock) |
10/15/25 km/h |
6/10/15/20/25 km/h |
10/15/25 km/h |
6/10/15/20/25 km/h |
6/10/15/25 km/h |
6/10/15/20/25 km/h |
|
Speed (after unlock) |
15/25/32 km/h |
10/15/20/25/32 km/h |
15/25/30 km/h |
6/10/15/20/35 km/h |
15/25/30 km/h |
10/15/20/25/32 km/h |
|
Max Load |
120 kg |
120 kg |
120 kg |
150 kg |
120 kg |
120 kg |
|
Net Weight |
23.2 kg |
27 kg |
23.3 kg |
27kg |
26.5 kg |
28.4 kg |
|
Suspension |
Rear mid shock absorber |
Front suspension |
Adjustable front fork + comfort saddle |
Hydraulic fork |
Dual |
Aluminum front fork |
|
Max Climb |
20% |
37% |
25% |
20% |
20% |
20% |
|
IP Rating |
IPX4 |
IP65 |
IPX65 |
IPX5 |
IPX4 |
IPX4 |
|
Removable Battery |
No |
Yes |
No |
Yes |
Yes |
Yes |
|
Rider Height |
150–185 cm |
160–192 cm |
155–185 cm |
160–190 cm |
140–180 cm |
150–192 cm |
Conclusion
Knowing how to change a tire on an electric bike is an essential skill for every rider. By recognizing when a tire needs replacing, preparing your tools and workspace, following a careful step-by-step process, and performing post-change checks, you can keep your e-bike safe, reliable, and ready for the road. Regular maintenance not only prevents flats and damage but also extends the life of your tires and bike components. With these tips, you can handle tire changes confidently and enjoy smoother, worry-free rides every time.
The Latest Posts


Explore isinwheel products
City E Scooter | Off-Road Scooter
Fastest Scooter | Kids Scooters


Leave a comment