


How to Fit a Tubeless Tyre on an Electric Scooter: Step-by-Step Guide for Beginners
Tubeless tyres are popular on electric scooters for their puncture resistance, smoother ride, and low maintenance. They’re ideal for everyday commuting and city riding.
If you’re learning how to fit a tubeless tyre on an electric scooter, you may face challenges like tight beads, bead seating, and protecting the motor wire. With the right tools and patience, this task is completely doable. This guide will show you how to fit a tubeless tyre safely and correctly, even as a beginner.
How to Fit a Tubeless Tyre on an Electric Scooter
To fit a tubeless tyre on an electric scooter, remove the wheel and disconnect the motor cable. Deflate and remove the old tyre, lubricate the rim and new tyre, install it, seat the bead with an air compressor, then inflate to the recommended pressure and reinstall the wheel.
Key Steps:
-
Remove wheel and disconnect motor cable
-
Remove old tyre
-
Install and lubricate new tyre
-
Seat bead with air compressor
-
Inflate and reinstall wheel
What Is a Tubeless Tyre on an Electric Scooter?
A tubeless tyre on an electric scooter is a tyre that seals directly to the wheel rim and holds air without the use of an inner tube. The airtight seal is formed by the tyre bead sitting tightly against the rim, which helps maintain stable air pressure while riding.
The main difference between tubeless tyres and tube-type tyres is how they retain air. Tube-type tyres rely on an inner tube, which can be pinched or punctured easily. Tubeless scooter tyres reduce this risk by eliminating the tube, meaning small punctures often cause slower air loss or seal themselves when used with tyre sealant.
Tubeless tyres offer several advantages for electric scooter riders, including better puncture resistance, improved ride quality, and lower maintenance requirements. These benefits make tubeless tyres a popular and reliable choice for commuters and high-performance electric scooters.
Tools and Materials Needed to Fit a Tubeless Tyre
Having the right tools is essential when learning how to fit a tubeless tyre on an electric scooter. Using proper equipment not only makes the job easier but also reduces the risk of damaging the rim, motor wire, or brake components.
Essential Tools
-
Tire levers or tire irons – Strong levers are needed to remove the old tyre and install the new tubeless tyre without damaging the rim.
-
Socket set and screwdrivers – Required for removing the wheel, axle nuts, and brake components.
-
Air compressor – Mandatory for seating the tubeless tyre bead properly on the rim. A high-pressure air blast is often needed.
Optional but Helpful Items
-
Zip ties – Useful for compressing the tyre and gaining extra leverage during installation.
-
Soapy water – Helps lubricate the tyre bead and rim, making installation and bead seating easier.
-
Protective gloves and eye protection – Improve grip and protect your hands and eyes during the process.
Safety Precautions Before You Start
Before you begin fitting a tubeless tyre on an electric scooter, taking proper safety precautions is essential to protect both you and your scooter’s components.
First, disconnect the battery and unplug the motor cable, especially when working on a rear motor wheel. The motor wire is delicate and can be easily damaged if pulled or pinched during tyre installation, so always keep it safely positioned out of the way.
Next, remove the brake caliper or shield the brake rotor to prevent bending, scratching, or contamination. Finally, perform the work on a clean, flat, and stable surface to maintain control of the wheel and tools. Following these safety steps helps ensure a smooth and damage-free tubeless tyre installation.
Step-by-Step Guide: How to Fit a Tubeless Tyre on an Electric Scooter
This detailed guide explains how to fit a tubeless tyre on an electric scooter correctly, even if you’re a beginner. Follow each step carefully to ensure a secure fit, proper bead seating, and long-lasting performance.
Step 1 – Remove the Wheel
Start by powering off the electric scooter and disconnecting the battery if possible. Unplug the motor cable, paying close attention to avoid twisting or pulling the wire, especially on rear-wheel motors. Remove the brake caliper or brake disc if it restricts wheel removal. Once clear, loosen the axle nuts and carefully slide the wheel out of the scooter frame.
Step 2 – Deflate the Tyre and Break the Bead
Fully deflate the tyre by pressing the valve core until all air is released. Breaking the bead is often one of the hardest steps. Use your hands, body weight, or tyre levers to push the tyre bead away from the rim edge. Work slowly and evenly around both sides of the wheel until the bead is completely free.
Step 3 – Remove the Old Tubeless Tyre
Apply a generous amount of soapy water around the tyre bead to reduce friction. Insert tyre levers under the bead and pry one side of the tyre over the rim, moving in small increments. Always keep the motor wire safely out of the way and avoid pinching it between the tyre and rim. Once one side is off, remove the second bead and take the old tyre off completely.
Step 4 – Prepare the New Tubeless Tyre
Warm the new tubeless tyre by placing it in direct sunlight or using a hairdryer for 15–20 minutes. This makes the rubber more flexible and easier to install. Clean the rim thoroughly to remove dirt, corrosion, or old sealant, as a clean surface is essential for a proper airtight seal. Apply soapy water to the rim and both tyre beads.
Step 5 – Install the New Tyre onto the Rim
Fit the first bead onto the rim by hand, starting at the valve and working around the wheel. For the second bead, use tyre levers and apply even pressure as you move around the rim. If the tyre is very tight, zip ties can be used to compress the tyre toward the center of the rim, making installation easier.
Step 6 – Seat the Bead with Air Pressure
Attach an air compressor and deliver a strong, quick burst of air—often requiring 100 PSI or more—to seat the tubeless bead. You should hear one or more loud “pops” as the bead locks into place. Visually inspect both sides of the tyre to confirm that the bead is evenly seated all the way around.
Step 7 – Inflate and Reinstall the Wheel
Inflate the tyre to the manufacturer’s recommended riding pressure, typically between 35 and 50 PSI. Reinstall the wheel into the scooter frame, reconnect the motor cable securely, and refit the brake caliper or disc. Spin the wheel by hand to check for proper alignment, smooth rotation, and brake clearance before riding.
Pro Tips for Easier Tubeless Tyre Installation
These expert tips can make fitting a tubeless tyre on an electric scooter faster, safer, and far less frustrating—especially if it’s your first time.
-
Heat the tyre before installing
Warming the tubeless tyre in direct sunlight or with a hairdryer for 15–20 minutes makes the rubber more flexible. This significantly reduces the effort needed to stretch the bead over the rim. -
Use patience—don’t force the levers
Forcing tyre levers can damage the rim or tear the bead. Work slowly in small sections and keep even pressure around the wheel for a safer installation. -
A second person makes a big difference
Having someone help hold the tyre or wheel steady can make bead installation and seating much easier, especially with tight tubeless tyres. -
Never pry near the motor cable
Always keep tyre levers away from the motor wire. Pinching or pulling the cable can cause costly motor damage, particularly on rear-wheel electric scooters.
Can You Fit a Tubeless Tyre Without an Air Compressor?
An air compressor is strongly recommended when learning how to fit a tubeless tyre on an electric scooter. Tubeless tyres need a fast burst of high-volume air to seat the bead and create a proper seal—something manual pumps usually can’t provide.
Using a hand or foot pump often results in poor bead seating, air leaks, or repeated deflation. If you don’t have a compressor, visiting a local scooter or bike repair shop is the safest and quickest option.
When to Replace a Tubeless Tyre on an Electric Scooter
Knowing when to replace a tubeless tyre on an electric scooter is important for safety and performance. One of the first signs is tread wear. If the tread is worn smooth or the wear indicators are no longer visible, the tyre has lost its grip and should be replaced.
Sidewall damage is another clear warning sign. Cracks, cuts, bulges, or exposed cords can weaken the tyre structure and increase the risk of sudden failure. Tubeless tyres with sidewall damage should be replaced immediately.
Finally, frequent air loss often indicates an aging or damaged tyre bead or multiple small punctures. If the tyre won’t hold air even after reseating or sealing, it’s time to install a new tubeless tyre.
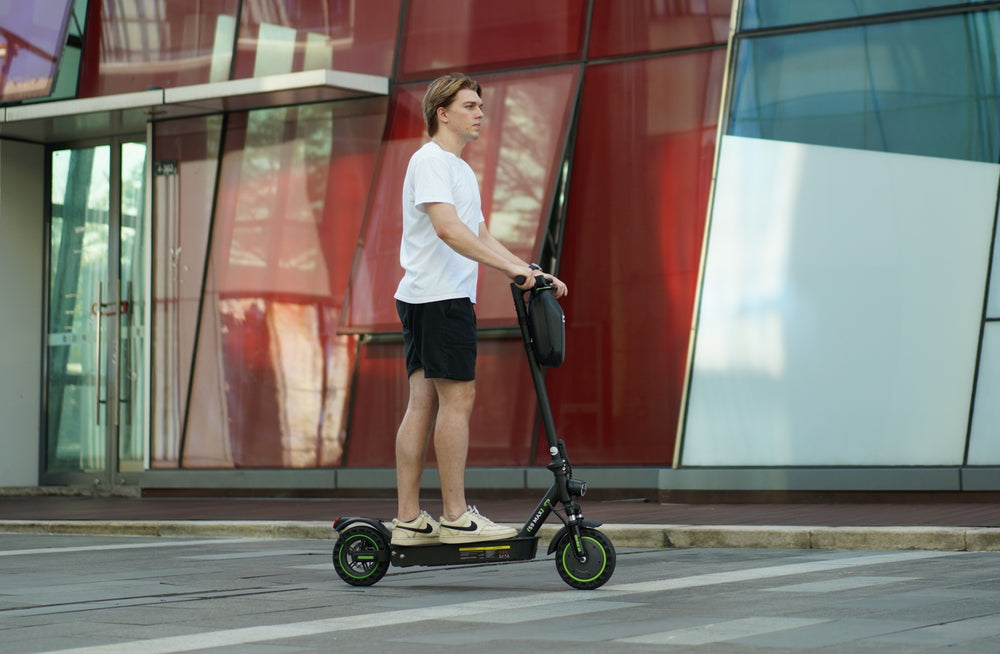
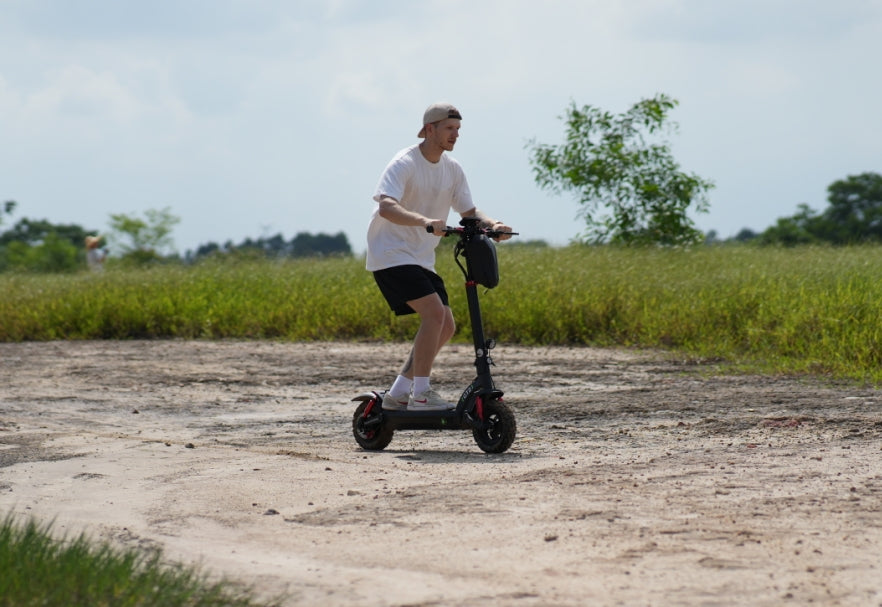
Explore isinwheel Electric Scooters Built for Performance and Reliability
If you’re looking for a reliable electric scooter with high-quality components and tubeless tyre options, isinwheel e-scooters offer a wide range of models for commuting, off-road riding, and high-performance needs. From lightweight urban scooters to powerful long-range machines, isinwheel delivers durability, safety, and value for every rider.
|
Images |
||||||||||
|
Feature |
||||||||||
|
Motor Power |
350 W |
500 W |
1000 W |
800 W |
1000 W |
1200 W |
1250 W |
1000 W |
2400 W |
1000 W |
|
Range |
30 km |
40 km |
60–70 km |
45 km |
50 km |
60 km |
70 km |
70 km |
80 km |
61 km |
|
Top Speed |
30 km/h |
35 km/h |
45 km/h |
45 km/h |
45 km/h |
45 km/h |
50 km/h |
60 km/h |
72 km/h |
45 km/h |
|
Battery |
36 V 7.5 Ah |
36 V 10 Ah |
54.6 V 15.6 Ah |
48 V 10 Ah |
48 V 12.5 Ah |
48 V 15 Ah |
48 V 15.6 Ah |
48 V 18.2 Ah |
58.8 V 18.2 Ah |
48 V 13 Ah |
|
Charging Time |
3–4 h |
3–6 h |
6–7 h |
4–5 h |
5–6 h |
5–7 h |
6–7 h |
3–4 h |
6–7 h |
5–6 h |
|
Max Load |
100 kg |
120 kg |
150 kg |
150 kg |
200 kg |
150 kg |
150 kg |
150 kg |
150 kg |
330 lbs |
|
Net Weight |
13.8 kg |
15.6 kg |
22.1 kg |
23.8 kg |
22 kg |
22.5 kg |
27.3 kg |
46.3 kg |
33.4 kg |
27.4 kg |
|
Suspension |
Dual |
Quad |
Front + Rear |
Front Fork + Rear |
Quad |
Dual |
Dual Swingarm |
Oil + Dual Rear Springs |
Dual Swingarm + Hydraulic |
Front Swingarm + Rear Dual-Spring |
|
Tires |
8.5″ pneumatic |
10″ pneumatic |
10″ off-road |
10″ off-road |
10″ off-road |
11″ off-road |
10″ × 2.75″ |
4″ wide snow tires |
12″ × 2.75″ Tubeless Off-Road |
10″ pneumatic |
|
Brakes |
EBAS + Disc |
EBAS + Disc |
Dual Disc + Elec |
Dual Disc + Elec |
Dual Disc + EABS |
Dual Disc + Elec |
Dual Disc + EABS |
Triple (Disc + Elec) |
Dual Hydraulic Disc Brakes |
Front & Rear Disc + Hidden Electronic |
|
IP Rating |
IP54 |
IP54 |
IP54 |
IPX4 |
IPX4 |
IP54 |
IP54 |
IPX5 |
IP54 (Body), IPX7 (Battery) |
IP54 |
|
Climbing Ability |
20 % |
20 % |
35 % |
30 % |
25 % |
35 % |
30 % |
40 % |
50 % |
30 % |
Conclusion
Fitting a tubeless tyre on an electric scooter is doable with the right tools, safety precautions, and step-by-step technique. Proper installation ensures better puncture resistance, smoother rides, and lower maintenance. Following this guide will help you safely install tubeless tyres and keep your scooter performing at its best.
The Latest Posts


Explore isinwheel products
City E Scooter | Off-Road Scooter
Fastest Scooter | Kids Scooters


Leave a comment