Learning how to remove the rear wheel on an electric scooter is one of the most useful repair skills any owner can pick up. A flat tyre, a worn inner tube, or a hub motor that needs checking will all eventually call for it. With the right tools and a clear order of steps, most riders can complete it in well under half an hour.
This guide covers the tools you need, safety checks, a step by step process for both motorised and freewheel rear wheels, and what to inspect while the wheel is off, plus answers to the questions UK riders ask most often.
Why You Might Need to Remove the Rear Wheel
A flat tyre is the most common reason, that unmistakable soft wobble underfoot that makes a ride feel unsafe. But it is not the only one. You might also need to:
-
Repair or replace a damaged inner tube
-
Inspect or replace the rear brake components
-
Service or check the hub motor
-
Clean the wheel axle and surrounding parts thoroughly
-
Upgrade to a different tyre type, such as swapping a pneumatic tyre for a solid one
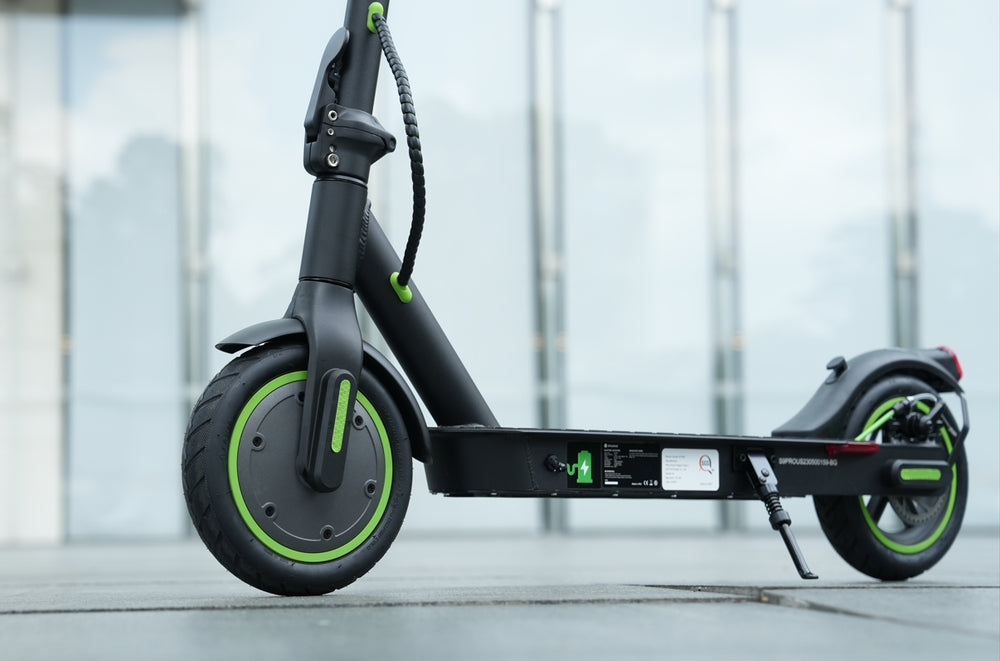
Most electric scooters use a bolt on axle secured by a nut on each side, though some folding models use a quick release skewer like a bicycle wheel. The bigger distinction is whether the rear wheel is motorised. A hub motor wheel has a thick cable running into the hub and needs careful handling. A standard freewheel simply spins on its axle. The steps below cover both.
What Tools Do You Need to Remove an Electric Scooter Rear Wheel?
Good preparation makes the whole job much easier. Before you start, gather everything you need so you are not hunting around mid repair with grease on your hands. Here is what you will typically need:
-
Allen keys, usually 4 mm to 6 mm depending on your model
-
An adjustable spanner or open ended spanner for the axle nuts
-
A screwdriver for removing protective side covers
-
Tyre levers if you need to get into the tyre or inner tube
-
Protective gloves to keep your hands safe and give you a better grip
-
A small container or tray to keep screws, washers, and spacers together
-
A penetrating spray, useful if the axle nuts have seized from road salt or moisture
Check the bolt and nut sizes on your specific model before you start, as sizes vary between manufacturers.
Safety Precautions Before You Start
This part is important. Please do not skip it. A few simple checks now will prevent accidents later.
Make sure the electric scooter is fully switched off and unplugged from any charger. If your model has a rear hub motor, there will be a motor cable you need to disconnect gently, without tugging on the wires. Place the electric scooter on a stable, flat surface, and keep a small container nearby for screws, washers, and spacers so nothing gets lost.
How to Remove the Rear Wheel on an Electric Scooter: Step by Step
Work through these steps in order. Rushing between them or skipping ahead is where mistakes tend to happen.
Step 1: Remove the protective covers and screws
Locate the side caps or covers that sit over the wheel axle. Use a screwdriver to remove them carefully, as they are usually clipped or screwed in place, then set them aside somewhere safe.
Step 2: Disconnect the braking system
For disc brakes, slightly loosen the caliper or release the cable so the wheel can move freely. For drum brakes, release the brake lever or detach the control cable. Take your time here, as the braking system is not something you want to damage.
Step 3: Disconnect the motor cable (motorised wheels only)
If your rear wheel is a hub motor type, find the motor cable, usually routed along the swingarm or near the mudguard. Disconnect it carefully, noting how it is threaded through the frame so you can route it back the same way. Taking a photo on your phone before you unplug it makes reassembly far easier.
Step 4: Loosen the wheel axle nuts
Using your spanner, loosen the nuts that secure the wheel axle. Remove them gradually and keep every washer and spacer in your container in the order you removed them. If a nut will not budge, apply a penetrating spray and try again with steady pressure rather than force. A seized nut usually needs patience, not strength.
Step 5: Remove the rear wheel
With everything disconnected and the nuts removed, gently slide the wheel off the axle. If it feels stuck, double check that all fasteners have been fully removed before applying any force. Forcing it when something is still attached is a quick way to cause damage you did not need.
What to Check While the Wheel Is Off
Take a few extra minutes to inspect the parts that are normally hidden:
-
Check the tyre tread depth and look for cracking along the sidewall
-
Spin the bearings by hand and listen for grinding, or check for side to side play
-
Inspect the brake disc or drum for scoring, thinning, or uneven wear
-
Wipe down the axle and check it for bending, rust, or damaged threads
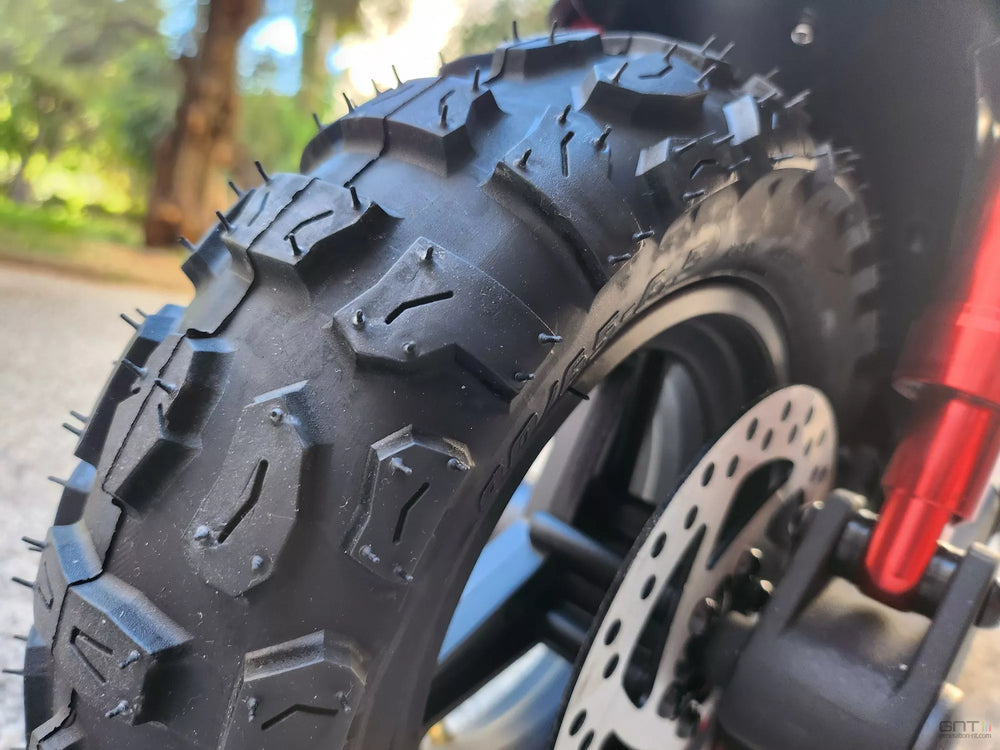
If the tyre or bearings are showing their age, this is the easiest point to sort a replacement rather than waiting for a breakdown. Our electric scooter tyres collection covers the common sizes and types.
How to Reinstall the Rear Wheel After Repair or Replacement
Refitting the wheel is essentially the reverse of removal. Slide the wheel onto the axle, replace the washers and spacers in order, then reconnect the motor cable if applicable and reattach the brake system.
Before you tighten everything up, check the wheel alignment. It should sit straight within the frame without rubbing on either side. Then torque the axle nuts down firmly and evenly on both sides, using the manufacturer recommended setting if you have a torque wrench. Spin the wheel by hand to make sure it rotates freely, and give the brakes a test pull before you take the electric scooter outside.
Maintenance Tips and Common Mistakes to Avoid
Always torque the axle nuts properly. Undertightened nuts cause wobble and can be dangerous at speed, while overtightened ones can strip the thread or crack components.
Before refitting the wheel, clean the axle and the area around the braking system, as dirt and grit can cause problems later. When you reconnect the motor cable, be gentle, since twisting or straining it is one of the more costly mistakes to fix.
After the wheel is back on, spin it, check the brake response, and make sure nothing is rubbing before you head out. If you need a specific replacement wheel, motor, or fastener for your model, our replacement parts by model page lists the correct components for each isinwheel electric scooter.
FAQs
How do I know if my electric scooter rear wheel has a hub motor?
Look for a cable coming out of the centre of the rear wheel hub. Hub motor wheels have a power cable connecting them to the battery and controller. If there is no cable and the wheel spins freely when the electric scooter is off, it is a standard freewheel.
What should I do if the axle nut will not budge?
A seized nut is usually caused by rust or dried grease rather than genuine over tightening. Apply a penetrating spray, leave it for ten minutes, then try again with a well fitted spanner and steady pressure. Avoid excessive force, which can round off the nut. If it still will not move, a repair shop can usually free it safely.
Is it legal to ride an electric scooter on public roads in the UK while I wait for my wheel repair?
Under current UK law, privately owned electric scooters are not permitted on public roads, pavements, or cycle lanes. They can only be used legally on private land with the landowner's permission, or as part of a government approved rental trial. If your electric scooter is being repaired, wait until the wheel is properly fixed before riding it anywhere. Full details are on our UK e-scooter usage notice page.
How often should I check the rear wheel and tyres on my electric scooter?
A quick visual check before every ride is a good habit, just to spot an obvious soft tyre or visible damage. For a more thorough inspection of the wheel, axle, and braking system, once a month is reasonable for regular riders. If you ride daily or on rougher surfaces, check it more often.
Where can I buy replacement wheels or tyres for my isinwheel electric scooter?
Find the correct wheel, tyre, or fastener for your exact model on our replacement parts by model page, or browse the full electric scooter tyres range if you are ready to fit a new one.





































Leave a comment